AllStarLink has become one of the most flexible and resilient VoIP linking systems available to amateur radio operators. With the release of AllStarLink v3, deploying a modern node is now significantly easier, more secure, and better aligned with current Linux best practices. This article walks through the design and deployment of a compact, high-performance AllStar node built around a Raspberry Pi 4 and the AURSINC Shari PiHat, a purpose-built SA818-based radio interface designed specifically for AllStar applications.
What Is AllStarLink v3?
AllStarLink is an open-source VoIP network based on Asterisk, allowing licensed amateur radio operators to link repeaters, simplex nodes, and RF gateways over the Internet.
AllStarLink v3 represents a major architectural refresh:
- Debian-based (Bookworm) distribution
- Modern Asterisk (v20+)
- systemd-native service management
- Improved security posture and simplified updates
- Cleaner separation of RF, audio, and control layers
These improvements make v3 an excellent fit for single-board computers like the Raspberry Pi 4, which provides ample CPU performance, reliable USB and GPIO handling, and long-term community support.
Hardware Overview
Raspberry Pi 4
The Raspberry Pi 4 is an ideal AllStar host due to:
- Quad-core ARM CPU (headroom for DSP, logging, and monitoring)
- Stable Ethernet and USB
- Broad Linux driver support
- Strong ecosystem for ham radio projects
A 2 GB model is sufficient for most nodes, though 4 GB provides additional margin if you plan to run monitoring tools or web dashboards.
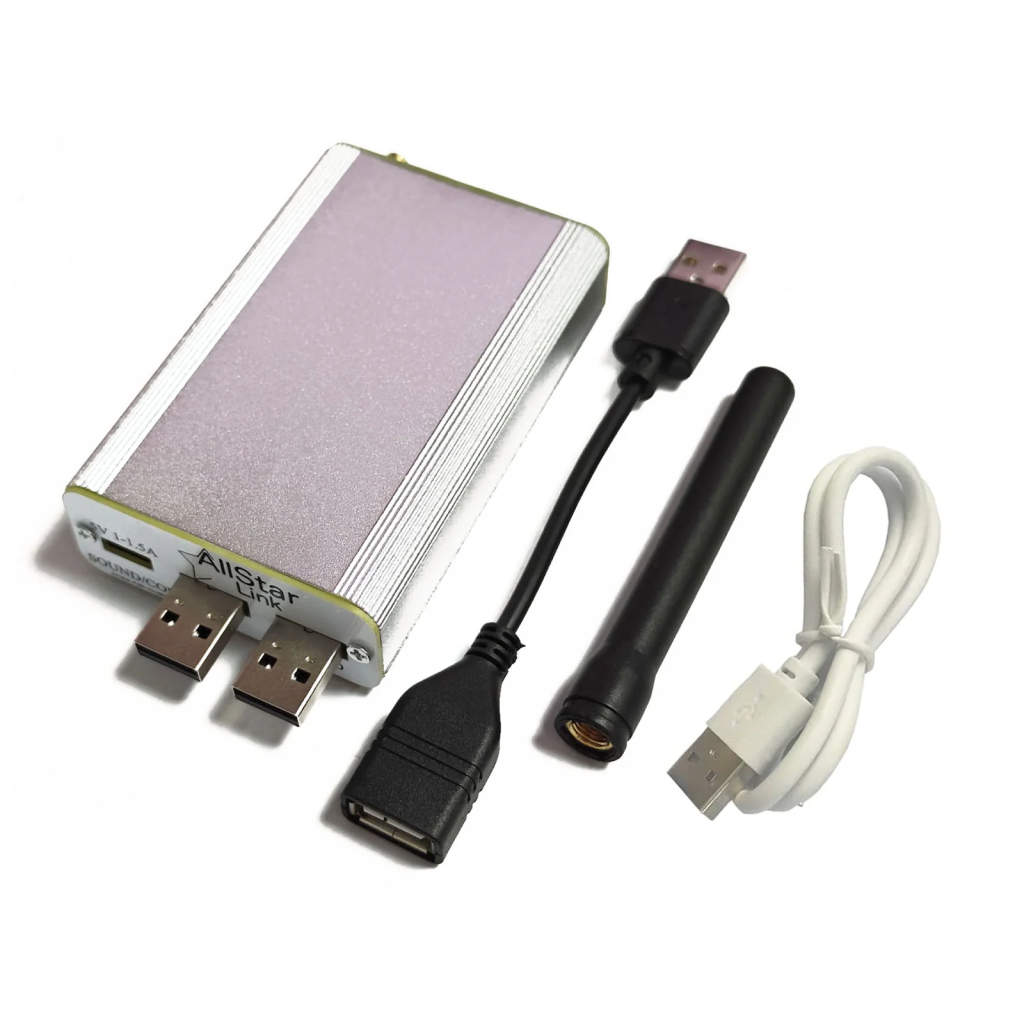
AURSINC Shari PiHat (SA818)
The AURSINC Shari PiHat is a Pi-mounted radio interface designed specifically for portable and fixed AllStar nodes. It integrates:
- SA818 VHF/UHF RF module
- Onboard audio conditioning (TX/RX)
- COS/PTT handling via GPIO
- RF shielding and compact form factor
- Direct Pi header interface (no USB sound card required)
Compared to USB-based interfaces, the Shari PiHat offers lower latency, fewer failure points, and a very clean audio path—especially important for full-time nodes.
System Architecture
At a high level, the node architecture looks like this:
Internet
   |
AllStarLink Network
   |
Asterisk (AllStar v3)
   |
GPIO / ALSA
   |
AURSINC Shari PiHat
   |
SA818 RF Module
   |
Antenna
Audio, PTT, and COS are handled directly between the Pi and the PiHat, eliminating the need for external USB audio interfaces or serial-controlled radios.
Installing AllStarLink v3
1. Prepare the Raspberry Pi
- Flash the official AllStarLink v3 image to a high-quality microSD card
- Boot the Pi and complete the initial console setup
- Configure:
- Hostname
- Static IP or DHCP reservation
- SSH access
- System updates
AllStarLink v3 ships with most dependencies preinstalled, significantly reducing setup time compared to earlier versions.
Configuring the Shari PiHat
Audio and GPIO Mapping
The Shari PiHat uses GPIO for PTT and COS, and ALSA for audio routing. In AllStar v3:
- Audio device is typically exposed as a standard ALSA interface
- GPIO pins are defined in
simpleusb.confor the node-specific channel driver - TX and RX audio levels are adjusted via SA818 control commands and AllStar mixer settings
Key configuration files include:
simpleusb.confmodules.conf- Node-specific
.conffiles under/etc/asterisk/
SA818 Frequency and Mode
The SA818 module is software-configurable for:
- VHF or UHF band
- TX/RX frequency
- CTCSS encode/decode
- Squelch parameters
This allows the same hardware to function as:
- A simplex AllStar node
- A link radio
- A private RF gateway
Node Registration and Linking
Once the node is configured:
- Register your node number through the AllStarLink portal
- Apply credentials to your Asterisk configuration
- Restart AllStar services
- Verify registration via the AllStar network status tools
You can then:
- Link to public hubs
- Create private inter-node links
- Schedule automatic connects/disconnects
- Enable DTMF control from RF
Performance and Reliability Considerations
Using a Pi 4 with a PiHat-style interface offers several advantages:
- No USB audio dropouts
- Lower audio latency
- Reduced RF noise compared to USB dongles
- Fewer cables and connectors
- Excellent long-term stability for 24/7 operation
For fixed installations, pair the node with:
- A linear power supply
- Proper RF grounding
- A band-appropriate antenna with adequate isolation
Use Cases
This configuration is well-suited for:
- Home simplex AllStar nodes
- Portable emergency-communications nodes
- Club linking infrastructure
- RF access points for private AllStar networks
Its small footprint and low power draw also make it practical for battery or solar-backed deployments.
Final Thoughts
Combining AllStarLink v3, a Raspberry Pi 4, and the AURSINC Shari PiHat results in a clean, modern, and highly reliable AllStar node. The v3 software stack removes much of the historical complexity, while the SA818-based PiHat simplifies RF integration and improves audio quality.
For operators looking to build a dependable AllStar node without the clutter of external radios and USB interfaces, this architecture represents one of the most efficient and future-proof approaches available today.